Zetta’s Guide to Making Wax Seals
Wax sealing is a difficult craft to master, however once mastered the possibilities to elevate your stationery and gifting are endless. Here we have put together a comprehensive guide on three methods of wax sealing, using our wax with wick, wax melting spoon and low-temperature wax gun.
Wax with Wick
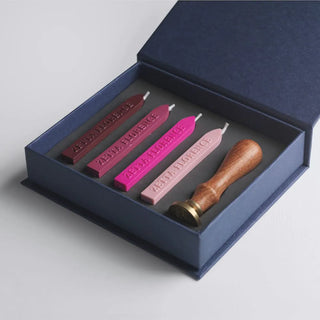
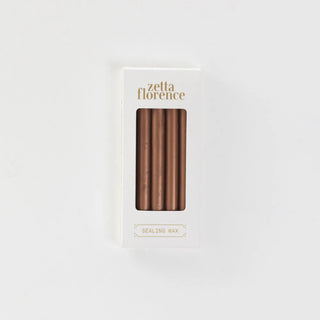
This method is best for individual wax sealing and is perfect for beginners, or as a gift to someone who has not tried wax sealing before. Our wax with wick is reticent of traditional methods of wax sealing, where seals were traditionally made using candle-like wax with a wick.
The benefit of using sealing wax with a wick is there are no other tools required. Simply light the end of your stick using a candle, lighter or match and hold the stick over your desired surface. As the wick burns, the wax will gently melt and drip onto your paper. It may take some time to melt enough wax for a seal so this requires patience. The last end pieces can be melted in a wax spoon, so there is no wastage.
Hot tip: Slowly rotate the stick while it is burning so that the wax drips evenly from the wick. This will ensure you get the most out of your stick as the wax doesn’t melt from one side only.
Related products
Melting Spoon & Oven
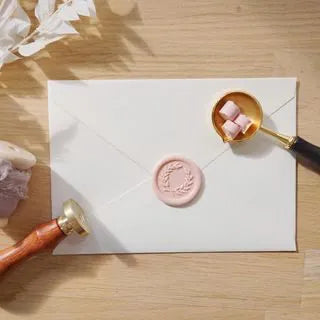
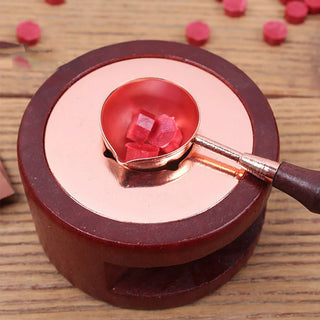
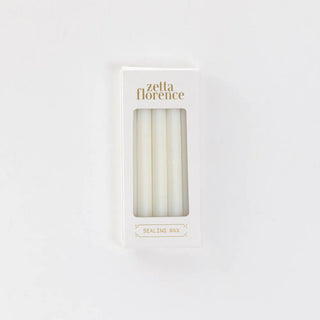
If you are using sealing wax beads an easy way to melt your wax is using a melting spoon. This method is useful as it allows you to adjust the amount of wax you use per seal. You can also experiment with marbling your wax seals, and get creative with combining colours. This method can be a little messier than other wax sealing methods. We think that’s half the fun though!
Method
Step One: Set up a clean, heatproof workspace that is away from any flammable items as you will be using an open flame.
Step Two: Light the tealight candle and place it on your heat-resistant mat, or inside your tealight oven if using one.
Step Three: Place 3 or 4 wax beads in the spoon. You can use one colour, or if you are wanting a marbled look, add different coloured beads.
Step Four: Set the spoon in the holder of the oven, or if using freehand, hold 2-3 cm above the flame of your tealight. Wait until the wax beads are completely melted before pouring. If you are marbling wax colours, you can stir once in a circular motion with a toothpick.
Step Five: Slowly pour the wax into your surface. The benefit of using wax beads is that you can use the same amount of wax for each seal, allowing for a more uniform look. Once you have poured your wax, be sure to set the spoon down in a safe, heat-resistant place as it will be hot to touch.
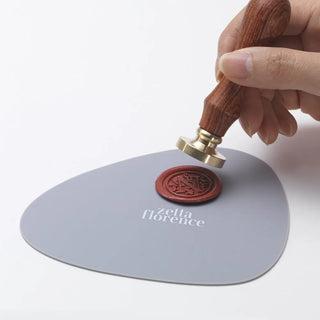
Step Six: Take your stamp and firmly press it into the melted wax. Leave for 15-20 seconds while the wax sets, then gently peel the stamp away. Voila – you have a beautiful wax seal.
Related products
Wax Sealing Gun
Before starting, please read our safety instructions carefully.
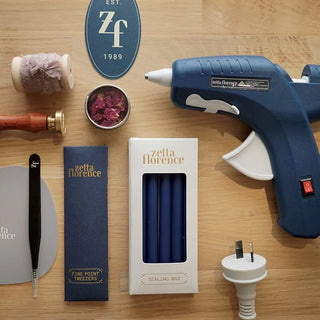
This method is useful for bulk wax sealing and creating seals with defined edging. Using a wax sealing gun is best for professional use as it is much faster than any other method.
Materials
Method
Step One: Begin by clearing a flat workspace that is clear from clutter and close to your power point. Plug in your sealing wax gun and place it on the heat-resistant mat.
Step two: Place your stamp on the ice pack, face down so that the brass is cold to touch.
Step three: Switch on your sealing wax gun and insert a wax stick into the chamber of the gun. Stand the gun with the nozzle pointing down, so that the wax does not spill.
It is best to leave it for 3-4 minutes, or until the wax easily flows from the tip. If you leave the wax too long this could cause it to spill from the edges of the barrel. The gun should never be left unattended. Give a test squeeze every couple of minutes, as waiting too long will overheat the wax. You are ready to pour once you squeeze the sealing wax from the gun with a low effort.
Step four: Once your sealing wax is heated, bring the nozzle 3-4 cm above your paper or non-stick mat and gently squeeze the trigger.
Here is the part where you can get creative with your pour. The shape of the wax seal will mimic the shape of your pour.
Step five: Take your stamp and gently press it into the wax. Then reveal!
Note: For bulk seals follow the first wax stick with a second one, so you are pushing the wax stick through the chamber. It is best to cool your stamp on the ice pack between each seal so that it remains cold.
Related products
Important things to note when making bulk wax seals
Wax is very temperature sensitive. It is important to control the temperature of your wax inside the wax gun. Here are some tips for maintaining the correct wax temperature:
- After making a few seals, the wax will continue to heat and melt causing too much viscosity and the wax will spill. Before this occurs, switch off your gun and leave it to cool before using again. This should only take a minute particularly if you turn it off after making a few waxes or at the end of using a full stick.
- Ensure the nozzle of the wax gun is pointed downwards at all times, otherwise, the melted wax may run back up the shaft.
- It is important to cool the head of the stamp on an ice pack between seals. Wax may stick to your stamp, and it is probably because the brass is too hot after pressing multiple hot wax seals.
- Bulk wax seals work best when poured in advance onto a heat-resistant mat first. This will ensure that your paper is not damaged by the hot wax. If you make a mistake, you can easily discard that seal and make another one without ruining the paper. Our silicone mats are non-stick and heat rated to 230c. Discarded seals can then be melted using a spoon and reused.
- Add translucent backing stickers to pre-made seals to stick to invitation envelopes or other paper items.
Cleaning your wax gun
If you are making wax seals in different colours using a wax gun and don’t want the colours to bleed, you will need to clean it between each use.
Our wax cleaning sticks are designed to remove any additional wax from your professional wax sealing gun to allow for a clean finish for each batch of seals. Simply cut approximately 3-4 cm of the cleaning stick and feed it through the wax gun to flush out the first colour. Squeeze the trigger until all of the clear cleaning wax is out of the chamber then push through the second colour.
